Your Window Installation Timeline, Explained
A window installation timeline is not just about picking a day for installers to arrive. It starts with measuring your openings correctly, choosing products built for your home, and planning around factors such as permitting, custom manufacturing, and Central Florida weather. Knowing what happens at each stage helps you plan confidently and avoid the frustration of unclear expectations.
For most Orlando homeowners, replacement windows are a custom home-improvement project rather than an off-the-shelf purchase. The process takes longer than a simple retail delivery, but that preparation is what helps produce a tighter fit, dependable operation, better insulation, and a finished look that respects your home.
What Affects Your Window Installation Timeline?
The size and complexity of your project matter first. Replacing a few standard double-hung windows generally requires less planning and installation time than replacing every window in a home, adding a large bay or bow window, or changing an opening to accommodate a new style.
Product selection also affects timing. Vinyl, composite, and real-wood windows may have different manufacturing lead times. Specialty shapes, custom exterior colors, triple-pane glass packages, grids, tempered glass, and oversized units can add time because each window must be made to the measurements and specifications approved for your home.
Local permit requirements can be another factor. In Orlando and surrounding communities, requirements can vary based on the scope of work and local jurisdiction. A professional contractor should explain whether a permit is needed, who will handle it, and whether an inspection is part of the process. Weather may affect the installation date as well, particularly during heavy rain or tropical weather events. A responsible crew will not rush an installation when conditions could put your home or the finished work at risk.
The Window Installation Timeline, Step by Step
1. The in-home consultation and estimate
The process begins with a conversation about what is not working in your current windows. Maybe the rooms feel hot in the afternoon, outside traffic is too noticeable, the windows stick, or you are seeing condensation between glass panes. Your consultant should inspect the existing windows, discuss style and material options, and take initial measurements.
This is also the time to compare glass packages and performance features. For Orlando homes, homeowners often prioritize solar heat control, UV protection, sound reduction, and condensation resistance. A quality replacement window should improve more than appearance. It should help make the rooms you use every day more comfortable.
You should receive clear pricing and a scope of work before making a decision. Ask what is included in the installation, how exterior trim or interior finishing will be handled, what warranty coverage applies, and whether any repairs uncovered during installation would be discussed separately.
2. Final measurements and order approval
After you choose your windows, a final measure is usually scheduled. This is more detailed than the initial estimate. The installer or measurement specialist confirms opening dimensions, checks for conditions that could affect installation, and verifies operating style, glass options, grid patterns, colors, and hardware.
This step is worth taking seriously. Replacement windows need to be ordered to fit each opening properly. Ordering too soon or relying on rough measurements can create delays, added costs, or poor fit. Final measurements help ensure the units arrive ready for a professional installation.
Once the order is approved, the windows move into production. Your contractor should give you a realistic estimated lead time rather than promising an exact date that may be outside anyone’s control. Custom manufacturing schedules can shift, especially during busy seasons or when specialty components are involved.
3. Manufacturing, scheduling, and preparation
This is often the longest portion of the window installation timeline. While the windows are being made, your contractor may be coordinating permits, confirming delivery details, and preparing the installation schedule. Depending on the product and project scope, this stage may take several weeks.
Homeowners can use this time to make installation day easier. Move furniture away from window areas, take down curtains and blinds, remove fragile items from nearby shelves, and make arrangements for pets. If you work from home, consider whether you will need a quieter place to work during the installation. There will be normal construction noise from removing old windows, fastening new units, and trimming the openings.
You do not need to clear out your whole house. A good installation crew will use drop cloths and work carefully around your belongings. Still, clear access helps the crew work efficiently and protects the things you value.
4. Installation day
For many homes, the actual installation takes one to three days. Smaller projects may be completed in a single day, while larger whole-home replacements or projects involving bay windows, structural work, or extensive trim needs can take longer.
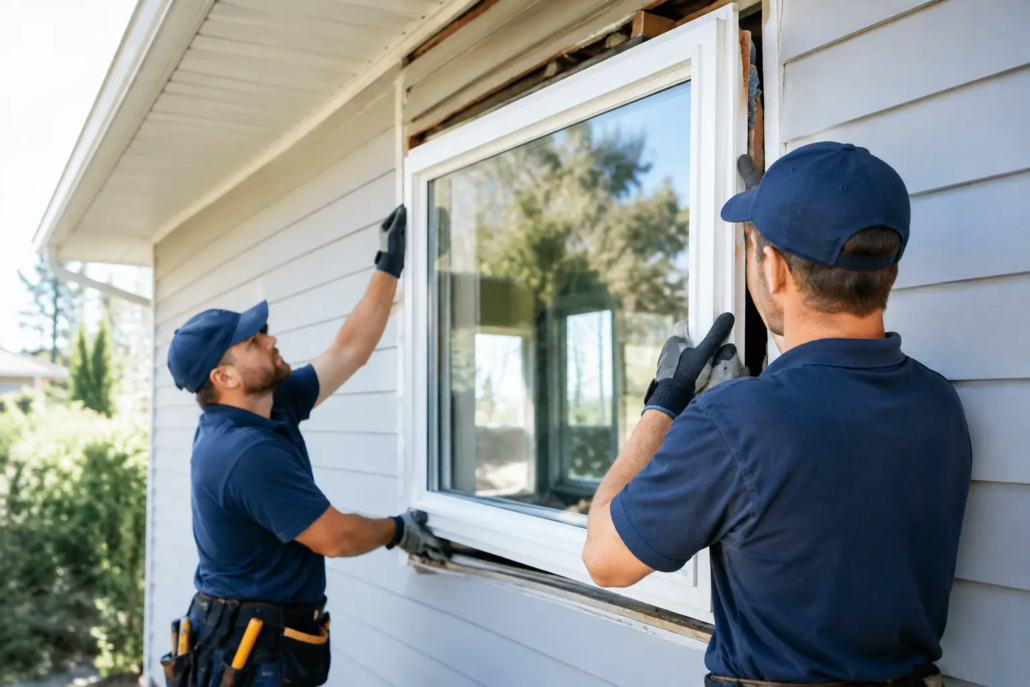
The crew typically removes and replaces windows one opening at a time. This approach helps limit the time any individual opening is exposed. After setting the new window, installers secure it, insulate and seal the perimeter, test its operation, and complete interior and exterior finishing as needed.
A quality installation is about more than getting the window into the opening. The unit must be level, square, properly fastened, weather-sealed, and able to open, close, lock, and drain as designed. This is where skilled workmanship protects the energy performance you paid for.
Homeowners should expect some dust and noise, but they should not expect a careless jobsite. Professional installers should protect floors and work areas, communicate if they discover hidden damage, and clean up daily if the project extends beyond one day. At Window Team USA of Orlando, the standard is simple: treat a customer’s home the way we would want another home-improvement company to treat Grandma’s.
5. Final walkthrough, cleanup, and any inspection
Before the crew leaves, there should be a walkthrough of the completed work. Open and close each window, check locks and screens, and ask questions about cleaning, operation, and warranty registration. This is your opportunity to point out anything that needs attention while the installation team is still present.
The crew should remove old windows and job debris, then leave the work areas orderly. If a permit was required, a local inspection may follow. Your contractor should tell you what to expect and remain accountable through that final step.
How to Keep Your Project Moving
Most delays are not caused by homeowners, but timely decisions can keep the project on track. Review the proposal carefully before signing so window styles, colors, glass features, and quantities are correct. Respond quickly if your contractor needs confirmation on a permit question, scheduling date, or site condition.
It also helps to stay flexible around the final installation date. A delivery delay, a storm forecast, or an unexpected issue behind an old window can require an adjustment. That is not always a sign of poor planning. What matters is clear communication and a contractor who addresses issues directly instead of cutting corners to stay on a calendar.
Questions to Ask Before You Schedule
Ask how long the selected windows are expected to take to manufacture, whether final measurements are included, and what could change the schedule. Confirm who is responsible for permits and inspections, how your home will be protected during installation, and what happens if hidden wood damage is found.
You should also ask whether the installation team is trained to install the specific products you selected. A high-performing triple-pane or ENERGY STAR-rated window can only deliver its intended benefits when it is measured, installed, and sealed correctly.
A realistic timeline is a good sign. The right contractor will not pressure you with vague promises or leave you wondering what comes next. Plan for a thoughtful process, prepare your home before installation day, and make sure you have a team that will respect both your schedule and your investment.